Installation
This guide walks you through the installation process for AndroidIDE, including setting up the terminal and installing Android build tools.
Minimum Requirements
Before proceeding, ensure that your Android device meets these minimum requirements:
Supported CPU Architectures
arm64-v8aarmeabi-v7ax86_64(requires AndroidIDE v2.7.0-beta or newer)
RAM
Enough available RAM, You will be working with the Gradle build system. Depending on the size of your project, you'll need enough free RAM so that the Gradle Daemon is not killed by the system. A minimum of 1.5GB - 2GB free RAM is recommended.
Storage Space
Enough storage space - A minimum of 4GB free storage space is required. You'll need enough space for various Gradle distributions and dependencies, according to your project configuration. After the basic setup, around 1GB of space is used by AndroidIDE (without any dependencies or distributions installed)
Internet Connection
WiFi connection is recommended for the initial setup.
Download AndroidIDE Application
![]()
![]()
F-Droid and GitHub builds are incompatible with each other! If you have already installed AndroidIDE from GitHub and if you try to install AndroidIDE from F-Droid, it won't be installed. Same goes for installing GitHub builds over F-Droid builds.
Please make sure that you download the files only from the trusted sources above. Installing it from unknown sources may pose a security risk to your device.
Debug Version
Debug version is for testing purposes.
- To download the debug version, choose
Build and testworkflow, then download the artifact. - Make sure to be logged in to GitHub in your browser when downloading artifacts.
Basic Setup
Before getting started with building projects, you need to install the basic build tools which are necessary for the IDE to function properly.
When you open the application for the first time, you'll be presented with the onboarding screen which will guide you to installing AndroidIDE and ask you for the following permissions :
- Storage - Required to work with files on the File System.
- Install packages - Required for installing apps built with AndroidIDE.
- Post Notifications - For Android 13 and above, you need to grant the
POST_NOTIFICATIONpermission. This will be used to show notifications on your device.
There are three methods to install AndroidIDE:
-
Automated installation
-
Configure your installation with the GUI. This simply executes the
idesetupscript in the terminal. Once the installation is complete, it will automatically navigate you to the home screen.Note!Automated installation option is only available in v2.7.0-beta and newer.
-
-
Manual installation
-
idesetupscript - provides you various options to install the tools. See installation with idesetup. -
Fully manual - manually install the tools by yourself. Choose this if you have already downloaded the tools or if you want to install custom tools in AndroidIDE. This can also be beneficial if you frequently re-install AndroidIDE.
-
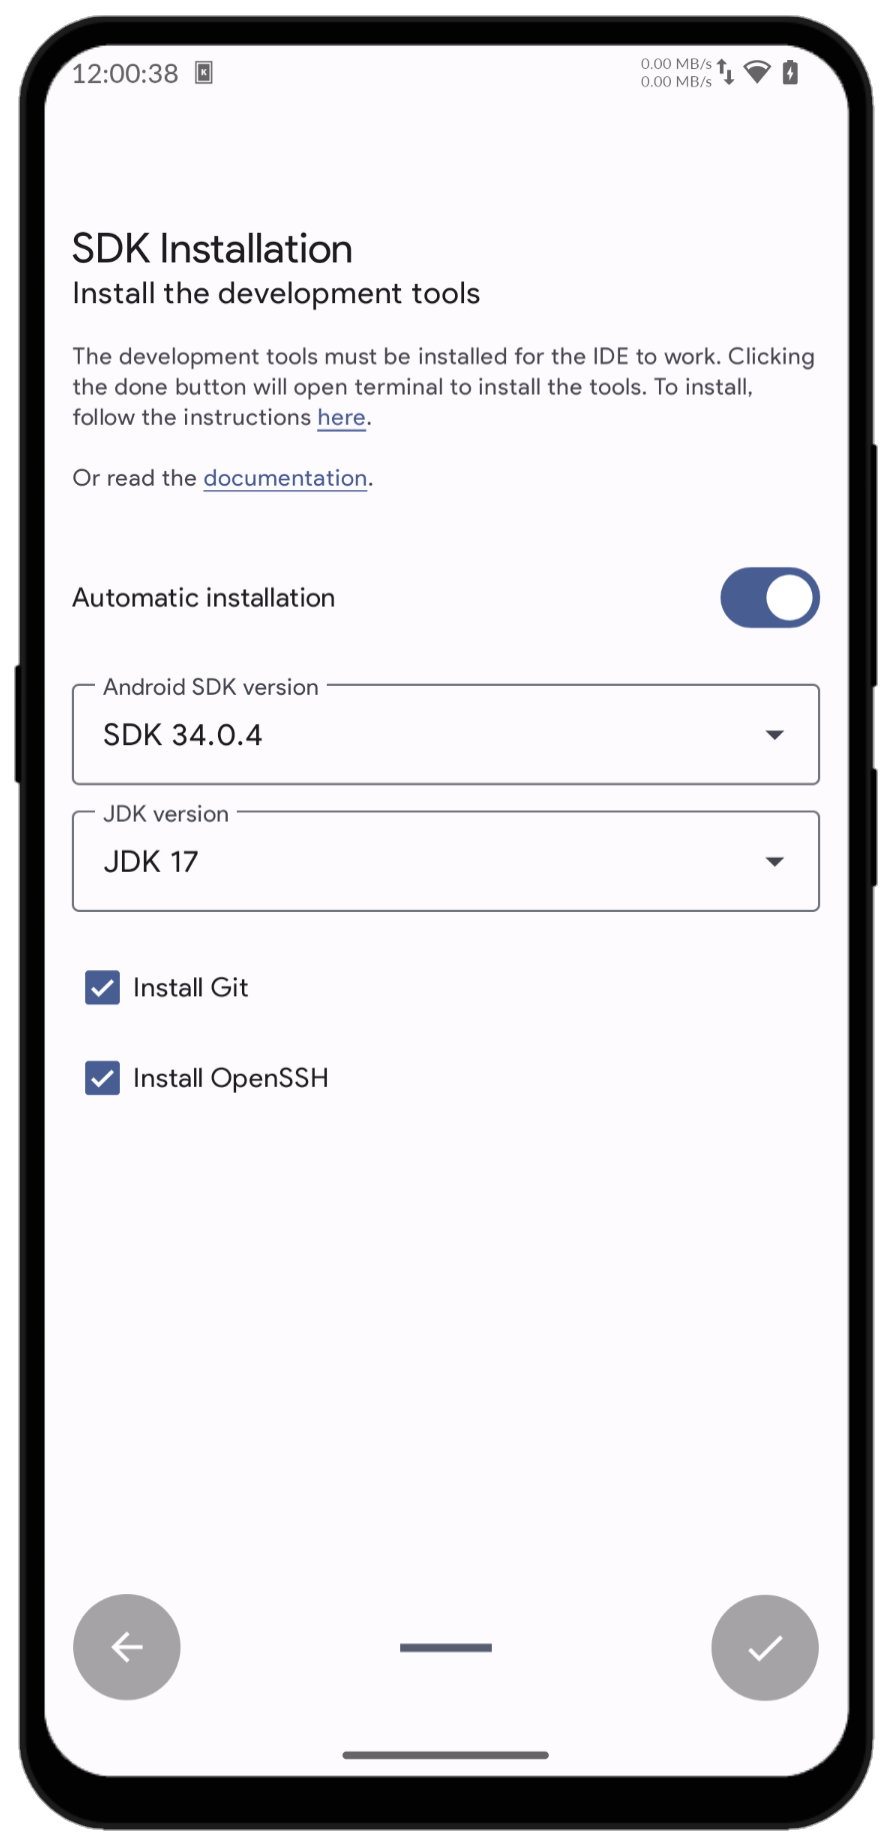
After you have granted the permissions, you'll be navigated to Setup tools screen which you can use to configure the installation.
For example, you can choose to install JDK 21 instead of JDK 17 which is installed by default.
The below images show the SDK installation GUI and the terminal activity respectively:

Setup the Terminal
- Open AndroidIDE terminal.
- It will install bootstrap packages if required.
- Run
pkg upgradeto update packages to the latest version.
Build Tools Installation
Install JDK, SDK, and commandline tools for SDK.
You dont need to do this anymore with latest version of AndroidIDE.
- Open the terminal and run
idesetup -c. - Confirm the configuration and start the installation process by typing
y. - After successful installation,
Downloads completed. You are ready to go!will be printed.
Cheatsheet
One command to setup the terminal and install build tools
cd && pkg upg && idesetup -c